

Vape coils play an important role in delivering clean and satisfying flavor. When the coil becomes old or damaged, the taste may feel burnt, and vapor production may drop. Learning how to change a coil in a Geek Vape ensures your device continues to work efficiently and delivers better results during daily use.
A new coil helps restore vapor quality and prevents a burning sensation while vaping. Always check the coil condition and replace it when required. Following correct replacement steps helps avoid leakage, dry hits, and unnecessary damage to the tank system.
What Is a Vape Coil?
A vape coil is the heating element inside a vape tank or pod. It contains a metal wire wrapped around cotton wick material. When the device fires, the coil heats the e‑liquid soaked in the cotton and turns it into vapor.
With regular use, residue from e‑liquid builds up on the coil and cotton. Over time, this buildup reduces flavor quality and vapor production, which means the coil must be replaced.
Why Changing the Coil in Geek Vape Is Important?
Changing the coil is essential because the coil directly affects vapor quality and flavor delivery. When the coil becomes old, e-liquid residue starts building on the heating wire, which results in a burnt taste and weak vapor production. Regular coil replacement helps maintain smooth airflow and consistent performance of your vape device.
A fresh coil also prevents overheating problems and reduces the risk of leakage inside the tank. If you want a better vaping experience, always check the coil condition and replace it when performance starts dropping. Proper coil maintenance also extends the overall life of your device.
Signs Geek Vape Coil Needs Replacement
Coil performance directly affects flavor and vapor quality. Recognizing the signs of a worn-out coil helps maintain a satisfying vaping experience.
Burnt or Unpleasant Taste: A strong burnt flavor is the most obvious indicator that the coil has degraded. Even with fresh e-liquid, a worn coil can create harsh hits that reduce enjoyment.
Weak Vapor Production: If the device produces less vapor than usual, the coil may be clogged, or the cotton is no longer absorbing e-liquid efficiently. This can make clouds thin and flavor muted.
Dry Hits or Strange Noise: Unusual popping or crackling sounds while inhaling often signal a coil that is no longer saturated properly or is burning unevenly.
Discolored E-Liquid: Dark or murky e-liquid in the tank can indicate that the coil’s cotton and wire are degraded, affecting taste and vapor quality.
Longer Heat-Up Time: If the device takes longer to reach optimal temperature or the coil feels hotter than usual, it may be time for a replacement to prevent damage or burnt flavor.
Different Tools Needed Before Changing the Coil
Before starting the replacement process, gather a few simple items.
New Compatible Coil
Before starting the coil replacement, make sure you have a new compatible coil ready for your device. Using the correct coil type for your Geek Vape device helps maintain stable heating performance and better flavor output. Always check coil resistance and packaging details before purchasing to avoid compatibility problems.
Clean Tissue or Soft Cloth
Keep clean tissue or a soft cloth nearby to wipe any spilled e-liquid during the coil-changing process. Cleaning the tank area removes sticky residue and helps maintain hygiene while installing the new coil. Working with a dry and clean surface also improves handling safety.
Fresh E-Liquid Preparation
Prepare your preferred e-liquid before installing the new coil. After placing the coil inside the tank, add a few drops of liquid directly into the cotton holes. This priming process helps prevent burnt taste and ensures smooth vapor production when you start using the device.
Different Steps for Changing Coil in Geek Vape
Changing a Geek Vape coil usually takes only a few minutes.
Turn Off Your Device
Power off the vape device before opening the tank. This prevents accidental firing while you are handling the coil. Always wait a few seconds after turning off the device so internal heating stops completely.
Remove the Tank From the Device
Unscrew the tank from the mod or remove the pod from the battery section. Place it on a paper towel in case some e‑liquid spills. Handle the tank gently while removing it to avoid damaging the threading or pod connector.
Open the Tank Base
Most Geek Vape tanks open from the bottom. Unscrew the base carefully to reveal the coil chamber. Keep the tank upright while opening the base to prevent any leftover e‑liquid from leaking.
Remove the Old Coil
The coil may either unscrew or pull out, depending on the model. Remove the old coil slowly and dispose of it. Check the coil chamber for residue before installing a new coil.
Prime the New Coil
Add a few drops of e‑liquid directly onto the cotton openings of the new coil. This saturates the wick and helps prevent burnt hits when you start vaping. Wait a few seconds after priming so the cotton absorbs liquid properly.
Install the New Coil
Insert the new coil into the tank. If it is threaded, screw it in gently until snug. For push‑fit coils, press them firmly into place. Make sure the coil sits straight inside the chamber for better heating performance.
Reassemble the Tank
Screw the tank base back together and attach the tank to the device again. Check all parts are tight but not over‑tightened to avoid threading damage.
Fill the Tank With E‑Liquid
Open the top fill port and add your vape juice. Avoid overfilling and close the tank securely. Leave a small air space inside the tank for smooth airflow.
Let the Coil Soak
Allow the tank to sit for about 5–10 minutes so the cotton wick absorbs the liquid fully. Soaking time helps prevent dry hits during the first use.
Start With Lower Wattage
Begin vaping at a lower wattage than usual and increase gradually. This helps the new coil break in properly. Slow power increase protects the coil cotton from burning. Begin vaping at a lower wattage than usual and increase gradually. This helps the new coil break in properly.
Coil Systems in Different Vape Devices
Pod systems and tank systems are the most common vape device styles. Both use coils to heat e-liquid, but their coil placement and replacement methods differ slightly.
Pod Systems
Pod systems usually have coils that push into the bottom of the pod. Some pods include built‑in coils, meaning the entire pod must be replaced. Pod systems are compact and easy to maintain for daily vaping use.
Tank Systems
Tank systems use replaceable coils located in the center of the tank. These coils are easy to remove by opening the base of the tank. Tank systems usually provide stronger vapor production and better flavor control.
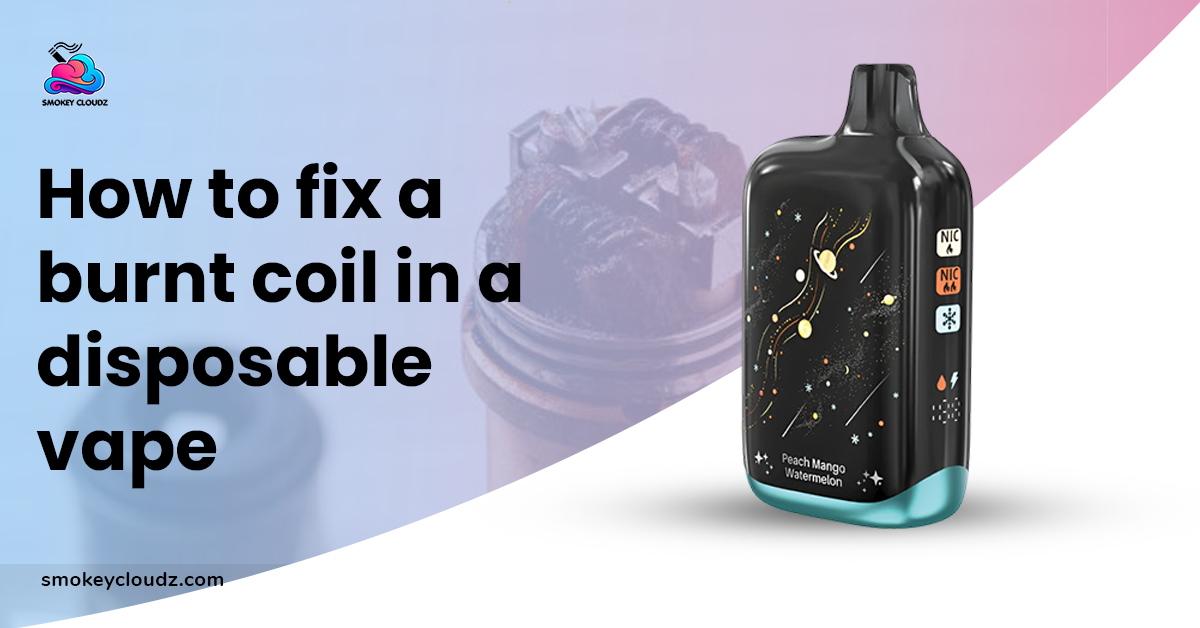
Make Vaping Simple with Disposable Vape Devices
Disposable vapes make vaping easy and convenient by removing the hassle of coil replacement. Geek Bar disposable vapes come pre-filled and ready to use, delivering consistent flavor and vapor without maintenance. For authentic products and a wide variety of flavors, Smokey Cloudz provides reliable disposable vapes perfect for beginners and experienced users alike. These devices are also lightweight and highly portable for daily use.
Conclusion
Knowing how to change a coil in a Geek Vape is essential for maintaining flavor, vapor production, and device performance. The process involves removing the old coil, priming the new one, installing it properly, and allowing the wick to soak before vaping. Replacing coils regularly keeps your vape working smoothly and prevents a burnt taste.
FAQ’s
How often should I change my GeekVape coil?
You should change your vape coil every 1–3 weeks, depending on usage frequency and e-liquid type. Heavy vaping users may need to replace coils more often to maintain good flavor. If you notice a burnt taste or weak vapor, replace the coil immediately.
Can I still vape with a burnt coil?
Vaping with a burnt coil is not recommended because it produces a harsh flavor and reduces vapor quality. Continued use of a burnt coil can also damage cotton material inside the coil. Changing the coil quickly helps maintain smooth performance.
How many hits should a vape coil last?
A vape coil usually lasts between 300 to 1000 puffs, depending on vaping style and e-liquid quality. High wattage usage and sweet e-liquids may shorten coil life. Proper priming and moderate usage help extend coil lifespan.
Can I change my coil with juice in the tank?
Yes, you can change the coil with some e-liquid inside the tank, but it is safer to empty the tank first. This prevents accidental leakage and makes the process cleaner. After installing a new coil, refill and prime it properly.
What size coil should I use?
Choose a coil size that matches your device specifications and vaping style. Low resistance coils produce more vapor but consume more battery and liquid. Always check the device manual guidelines before buying a replacement coil.
Leave a comment
This site is protected by hCaptcha and the hCaptcha Privacy Policy and Terms of Service apply.